
Everything you need to know about boosting that favorite deck of yours!
Hounds Boosters

On your turn, when you activate Losing Grip. You can swap any warrior on your side of the field with a higher level warrior from your hand.
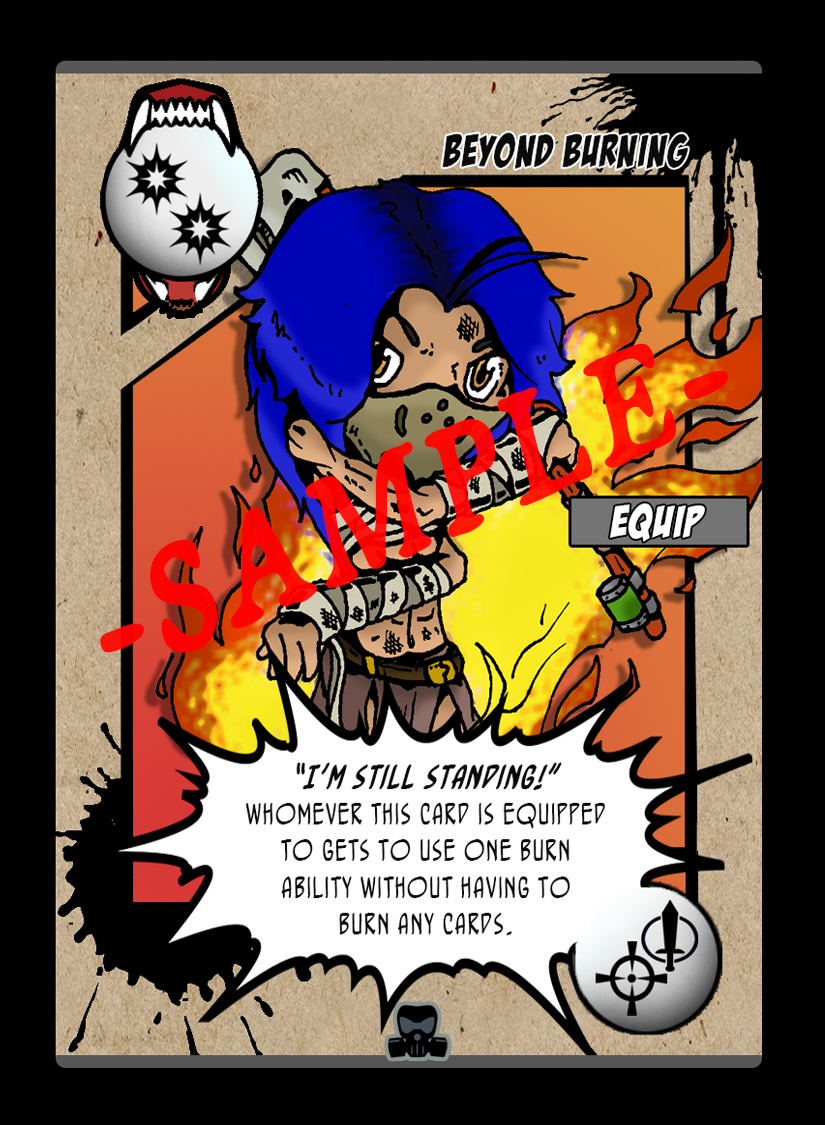
When you equip Beyond Burning to a warrior, this card stays active until that warrior uses a burn ability. Then this card discarded afterwards. What this card does is prevent you from burning a card this one time to use that ability.

When this card is played, all of the warrior’s on your side get a +1 level boost for this turn. This card can be played on your opponents turn as well.

This card must be played when your opponent declares the attack onto any of your warriors. If your warrior survives the attack and kills the attacking warrior they will absorb the full level of that attacker.

When you summon Ryan, stage three in exhaust. You get to select one of your opponents warriors on the field to destroy instantly.

You can only summon Ryan, Full Corruption without Ryan’s Sphere in play. Once Ryan hits the field he automatically gains a +1. From there on out every time you burn a card from you hand which will exhaust him. He gains a +2.
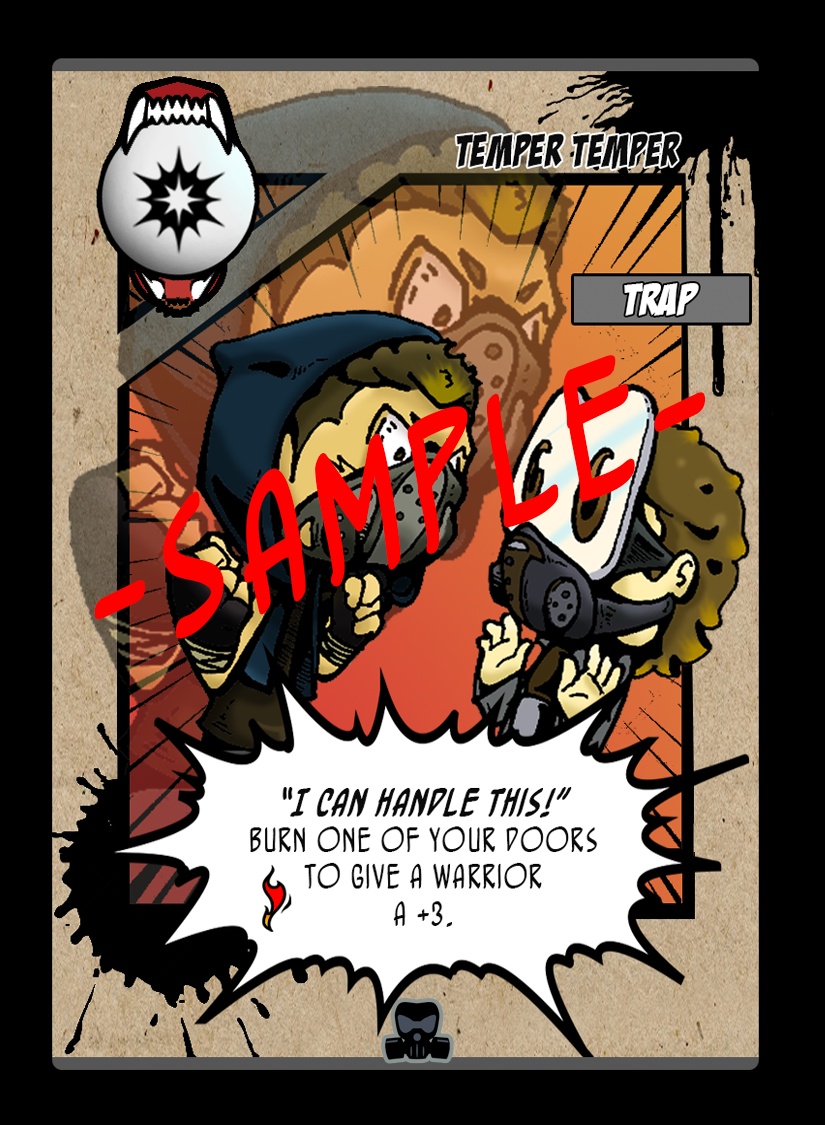
When you play Temper temper you have to burn one of your doors at random. Then you can give a warrior of your choice a +3 boost.
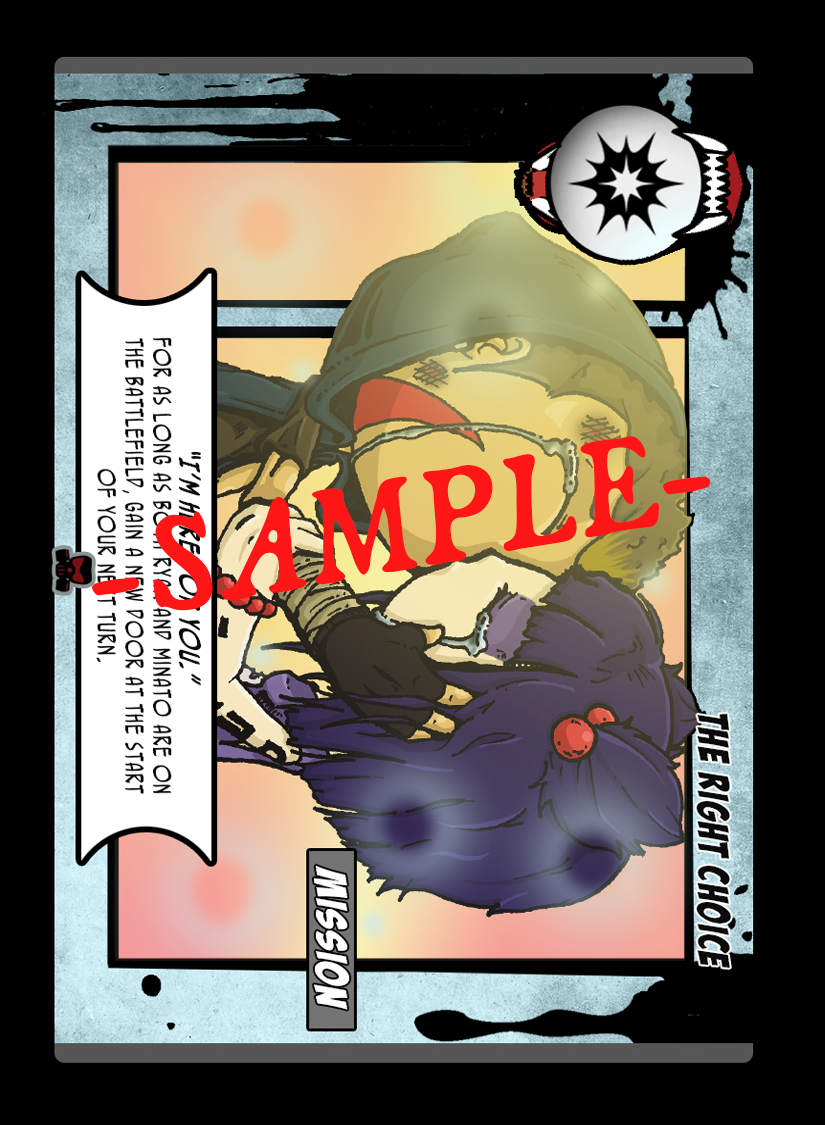
As long as you have the Right Choice in play as well as have both Ryan and Minato on the field. At the start of every turn you get to rebuild a new door (5 Doors Max). When one of the die this card is discarded.

When Adult Maylin is summoned in exhaust, she creates her own version of a wipe out. Not as strong, but it does the job. All warriors that are level 5 and under (not including her) are wiped off the battlefield.
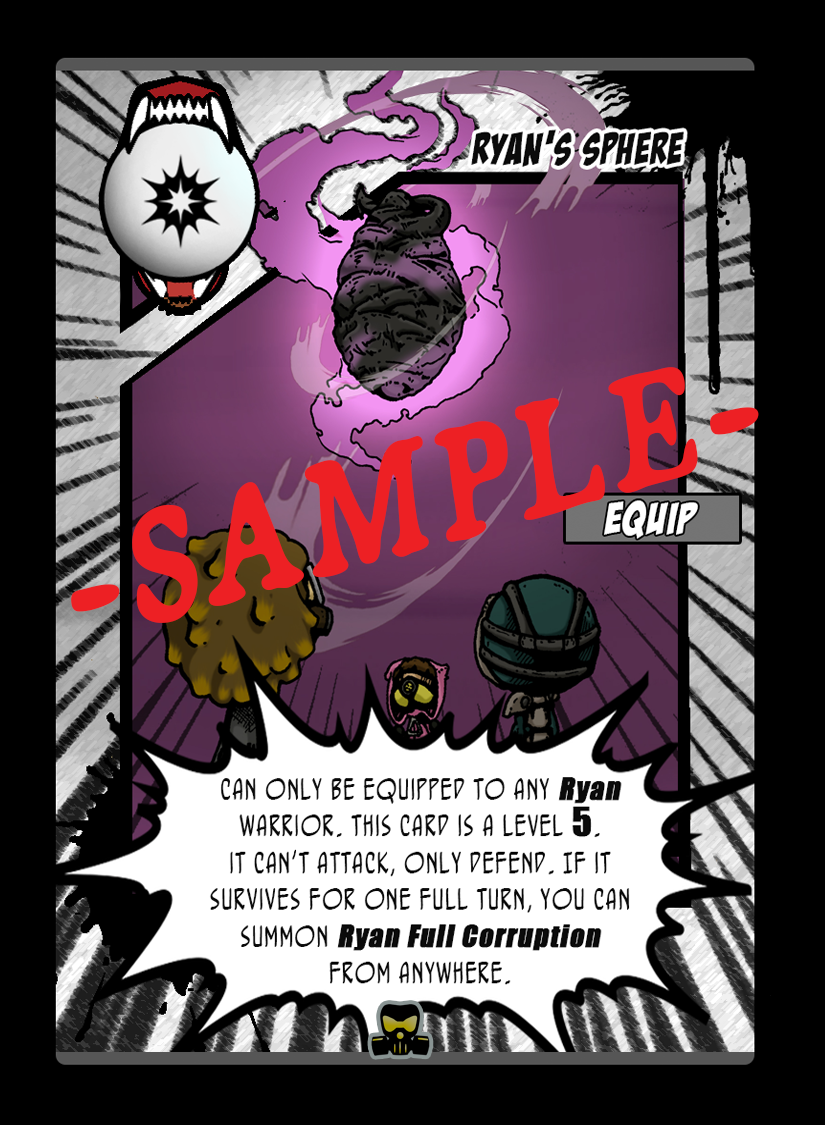
Whenever you have any warrior version of Ryan and decide to equip Ryan’s sphere to him, the card immediately activates. This card is placed on top of Ryan’s card and has a level of 5. If this card survives your opponents next turn then you can summon “Ryan Full Corruption” from your hand or anywhere in your deck. This card can be stopped by using any unequipped cards or attacked by a warrior that’s a level 5 or higher.
Cult Boosters

With this card, you have an option on which ability you wish to use. The burn ability lets you sacrifice any warrior of your choosing. In other words, you instantly kill a warrior. This ability is best used to support the mission card called “Gift to the Gods”. The second choice you have is to put any warrior level to “1”. This does not cancel any equipped boost’s on that particular warrior.

This card must be in play before you start your missions objective. If you “sacrifice” three warrior’s (This does not mean kill or win a battle) then you may bring back two random cards from your grave and place them down as doors. In order for this to work there must be at least two open slots where your doors use to be. If you still have all your doors when this objective has been met then this card is sent to the grave and this mission card has been wasted.
Example of Sacrifice:
Annihilation Card or Nira, the Shadow Empress ability.

When you activate Elder’s Ritual you can sacrifice any one of your warriors to summon two from your hand that equal or less together then the card that was sacrificed.

When you activate Cost of Sanity, you burn a door to summon another warrior from your hand. That door that was burned does no go to your hand but directly to the grave.

By summoning The Believer in exhaust, you are given an opportunity to summon a warrior from your grave that is a level 3 or under.
Mythical Boosters

At any point you activate Midnight’s Truth, you draw 3 cards and burn 1 of the three cards you drew.

When Need A Hand is activated you get to peek under your opponents next two draw cards located in their draw pile.

The warrior that you equip this card to will automatically gain a plus 3 boost, for as long as this card is attached to them.
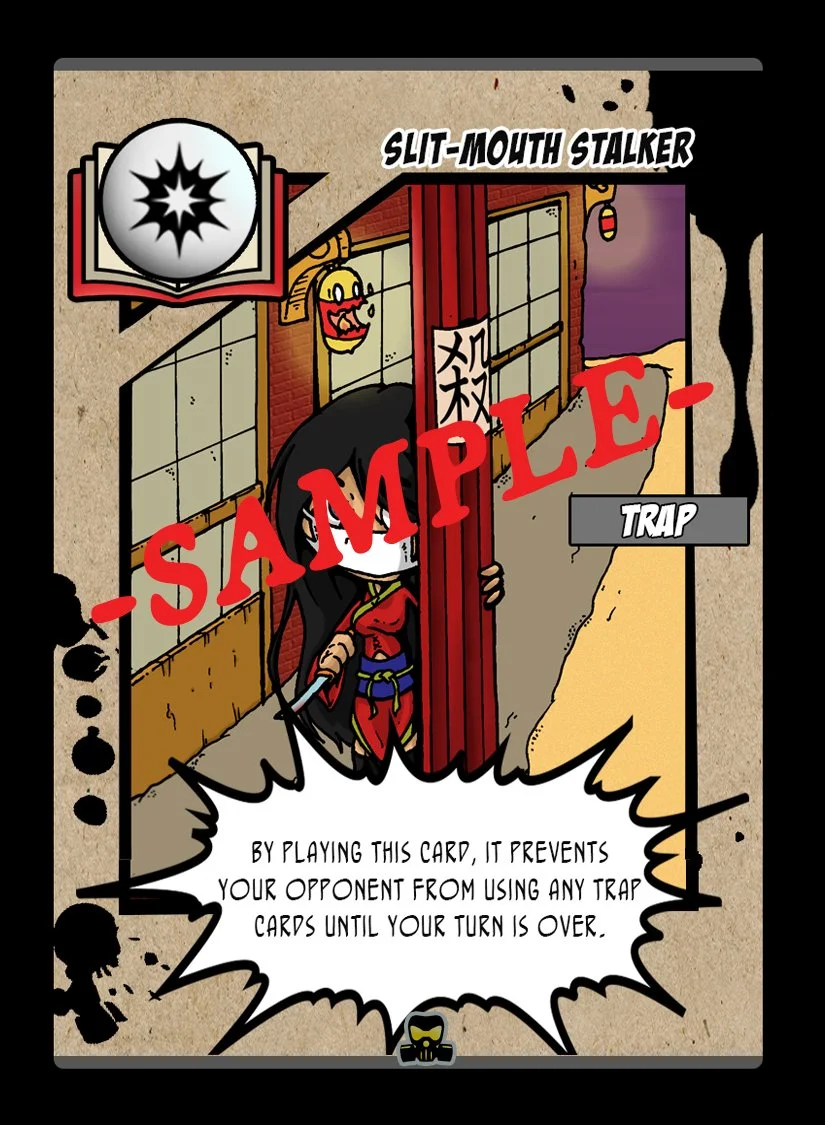
Slit-Mouth Stalker MUST be played on your turn only. By playing this card, your opponent can not use any trap cards on you, until the end of your turn.
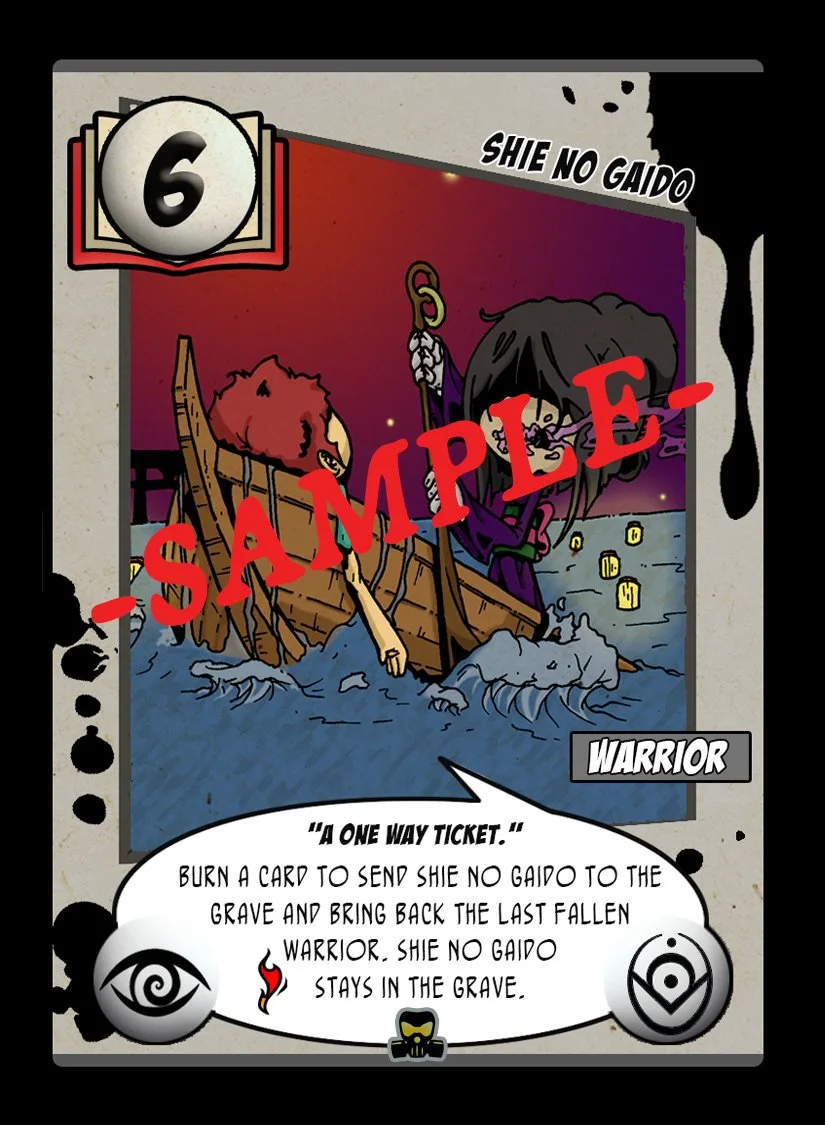
When you use Shie No Gaido burn ability, she is automatically killed off. Afterwards, she is replaced by the last warrior on your side who has fallen. That resurrected warrior’s ability is not activated.
Code B.E.L. Boosters

When you activate SURPRISE! You and your opponents must reveal all warriors that are in stealth mode on the battlefield.

Activating Secret Files will let you peak under any two of your doors.
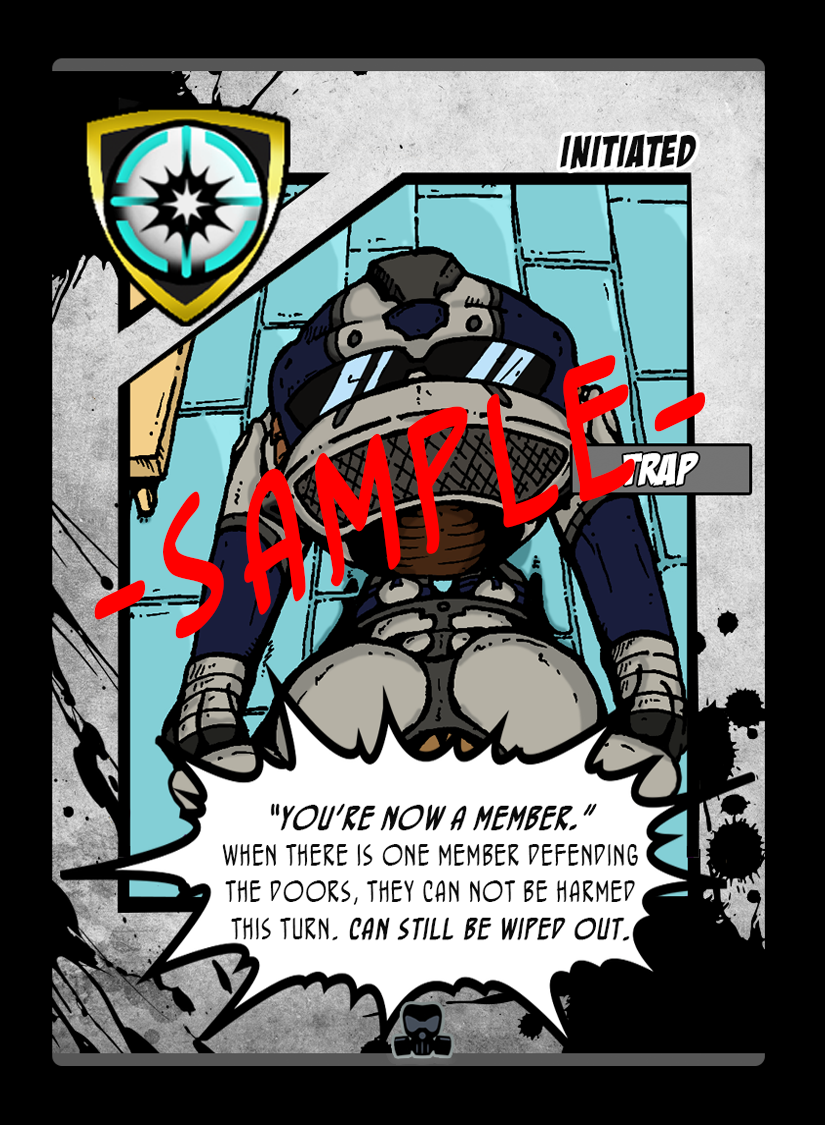
If you only one warrior remaining on your side of the field. You can activate “Initiated” to protect that warrior from being attacked this turn.
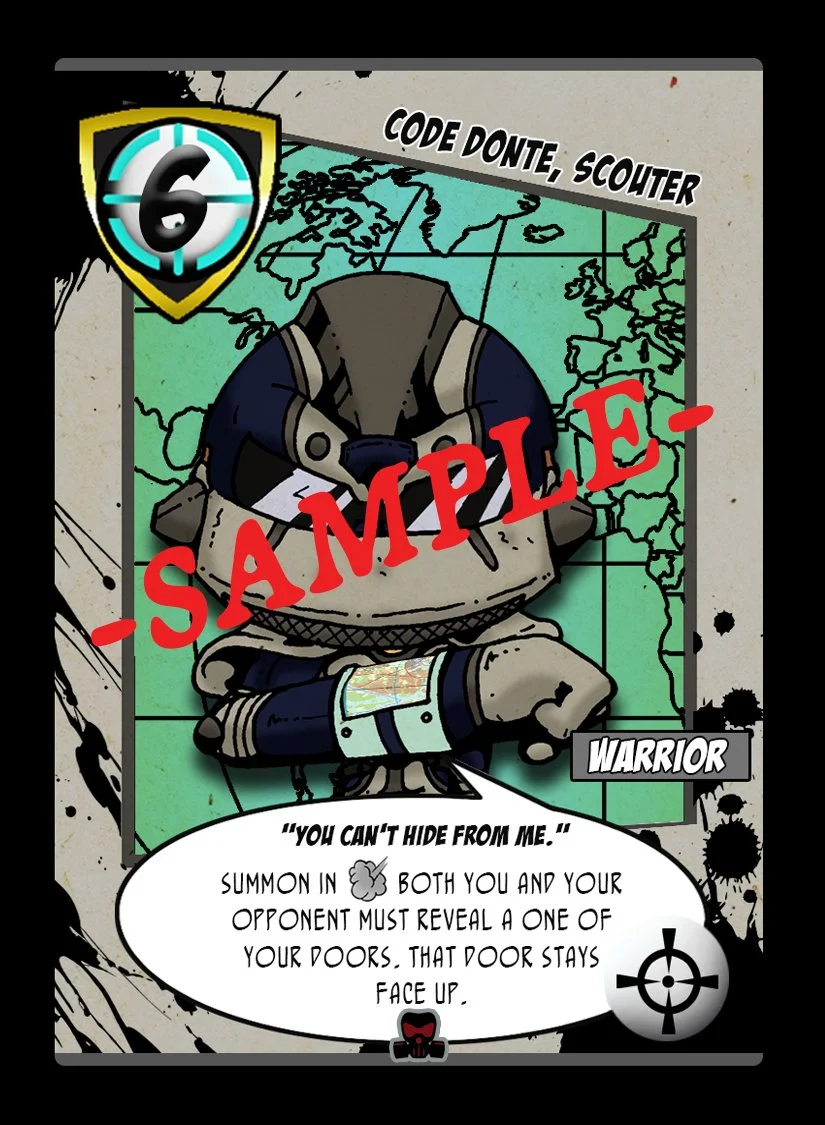
If you summon “Code Donte, Scouter”, both you and your opponent must reveal a door. This doors still acts as a door. The only difference now, is that you now know what was underneath that door.
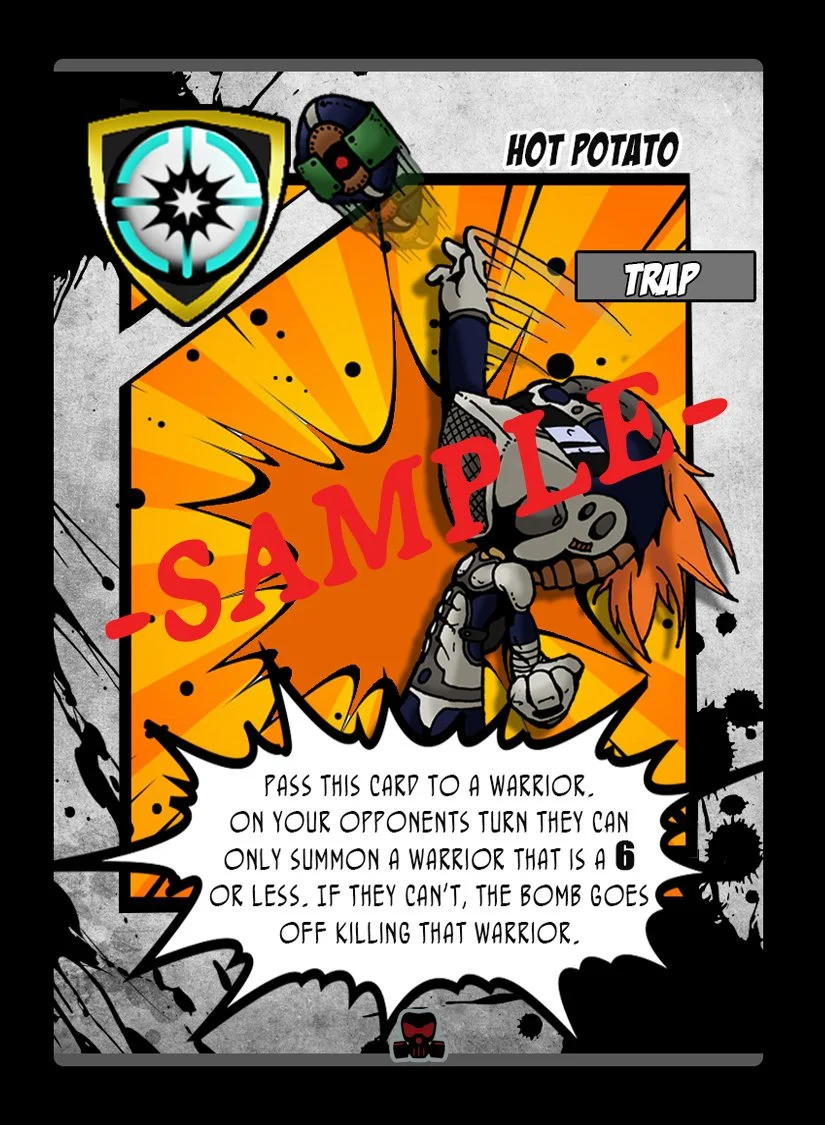
This must be activated on your opponents turn (it must be placed in the tactical area) before they play a warrior. When given this card, your opponent must is forced to play a warrior that is a 6 or under this turn. If they do not have a warrior that is a 6 or under / or a warrior at all to play, then the bomb goes off. Killing that warrior or the last warrior played (if no warrior was played).
Rebels Boosters

This card MUST be played before your turn ends. Permission granted gives you the chance to use to trigger the last ability that was used at the end of your turn. This does include traps, equips, or warrior abilities.

When you equip Overkill to a warrior, for every warrior that warrior kills, your opponent must discard a random card from their hand back into their deck. They must then shuffle their deck after.

When Child’s Toy is activated you can take a warrior from opponents side and place them hostage. By putting that warrior underneath one of yours.. If your opponent does not kill that warrior holding theirs hostage by the end of their turn, then their warrior that is kept hostage dies.

If you ever use Luk in a tag team battle to take out a warrior, she will always survive unscathed, while the others get sent to the grave.

Psycho Krueger can be used in one or the other way. You can equip this card to Krueger to give him a massive boost or burn a card to prevent your opponent from drawing on their next turn.
Fallen Sun’s Boosters
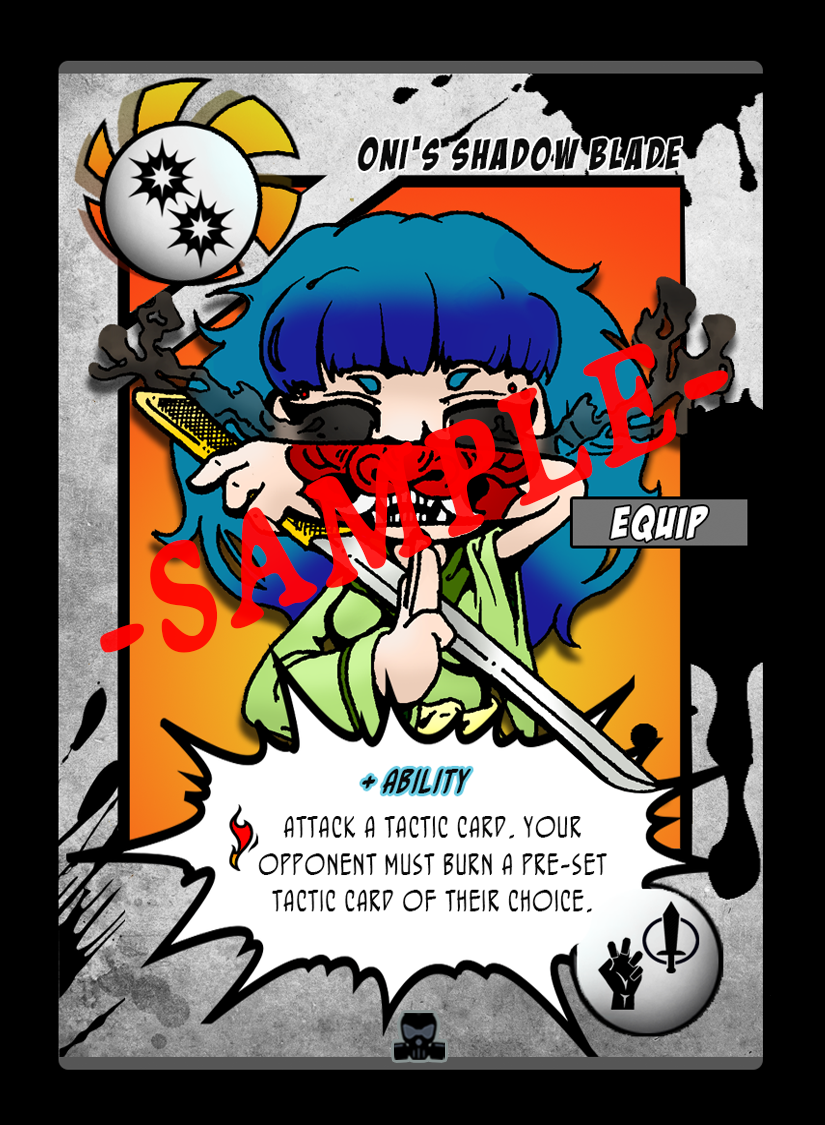
This is a +Ability, which means which ever warrior you equip this card to gains this extra ability. This ability lets forces your opponent to burn a tactical card of their choosing.

Activating Heartless Move lets you shuffle your hand back into your deck. Draw all of your doors into your hand and replace them with the same number of doors drawn from your deck.
Shima the Ripper is a mysterious serial killer that roams around the Fallen Suns hidden Village. He has never been caught for his crimes. Whatever warrior he kills, he gains the additional level of that warrior.

Which ever warrior you equip Take the lead to; whenever that warrior attacks or uses its ability, he automatically gives a +1 to any other warrior of your choosing.

By placing “Killer by Night” onto one of your warriors. The warrior that is now holding this card becomes a major target and is the only target that your opponent can attack.

When you attach By Your Side to one of your warriors, you can use this warrior to jump into any battle in order to protect their comrades. This warrior can die during battle and take the fall instead.
Neutrals Boosters
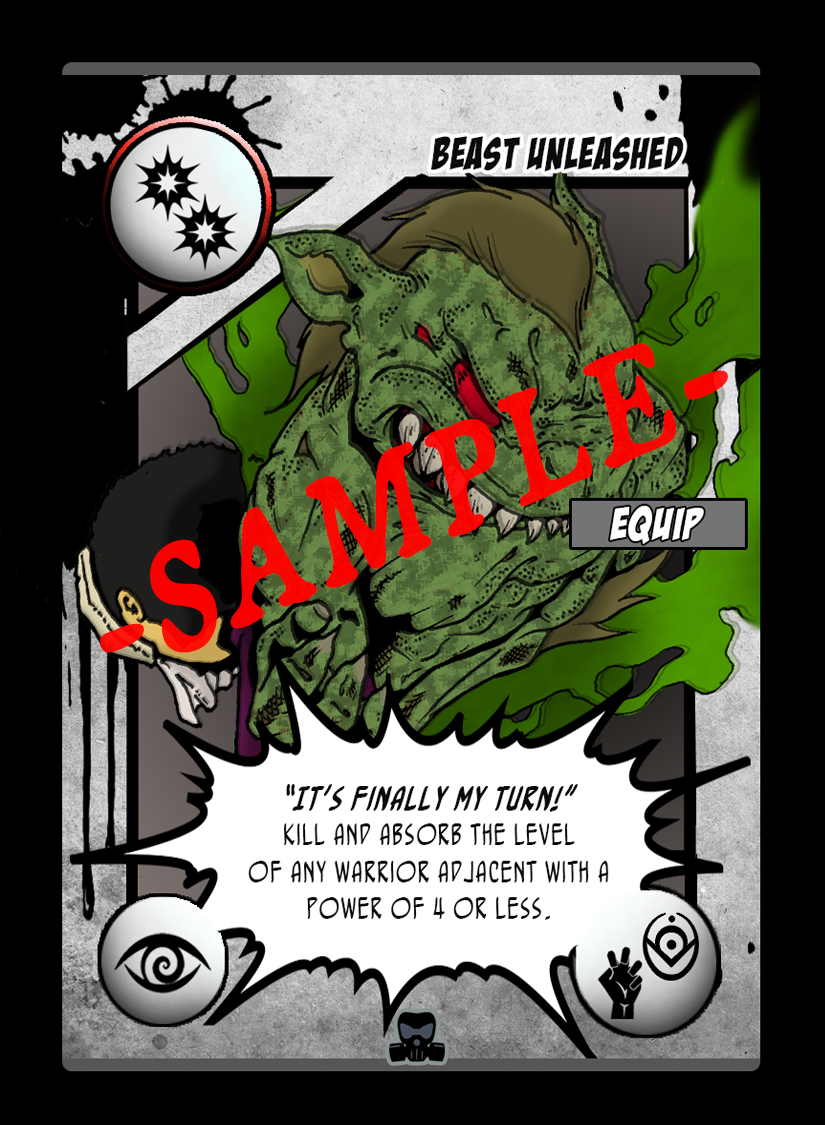
When Beast Unleashed is equipped to a warrior, it can absorb the levels of its adjacent warriors (killing them) and adding it to their level.

A creepy spirit that lurks in the woods to feast on blood. When Bloody White is summoned in exhaust she gains a +1 for every warrior on the field at that moment. It does not fluctuate as warriors appear or killed on the field.

If you do not like the cards that are in your hand then this would be a good time to use Breaking Reality. By activating this card, you shuffle the number of cards in your hand back into your deck. Shuffle and redraw back to that hand size. Now you have new cards to play with.
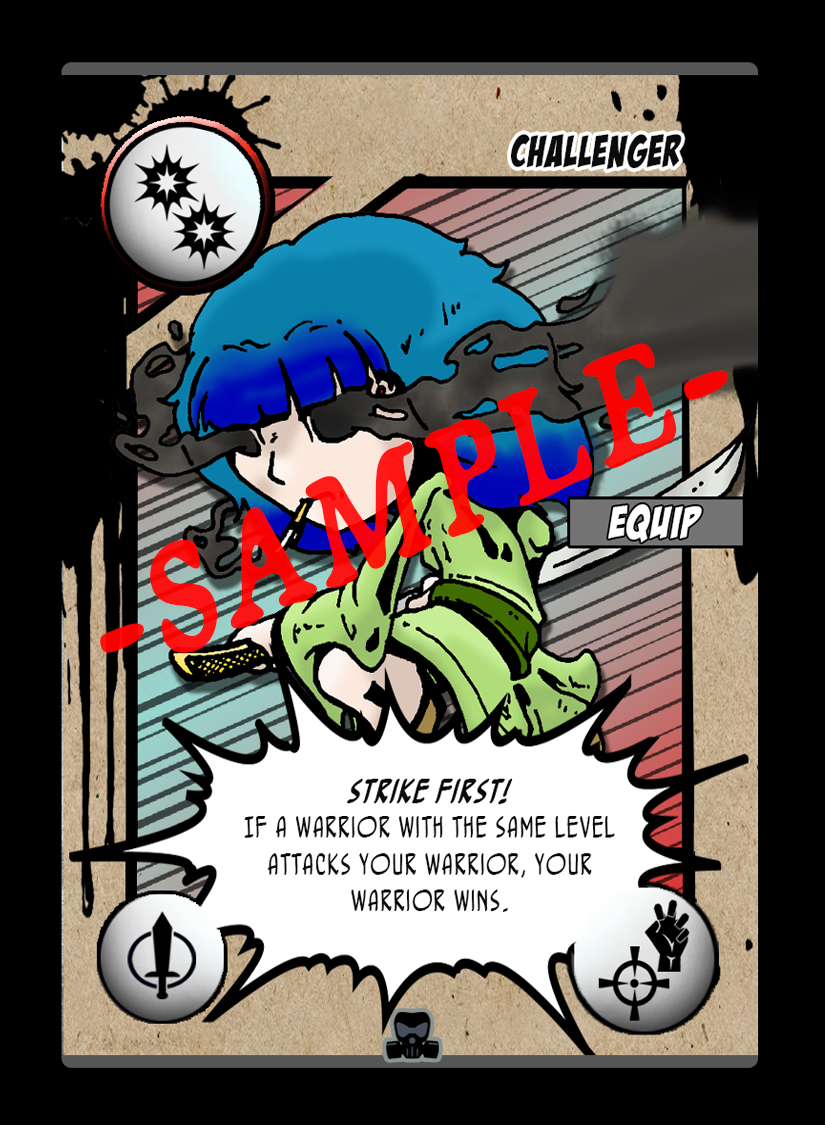
This is best activated during a battle phase. If your opponents warrior is the same level as your warrior, then this card will help your warrior win the battle. Preventing yours from dying as well.
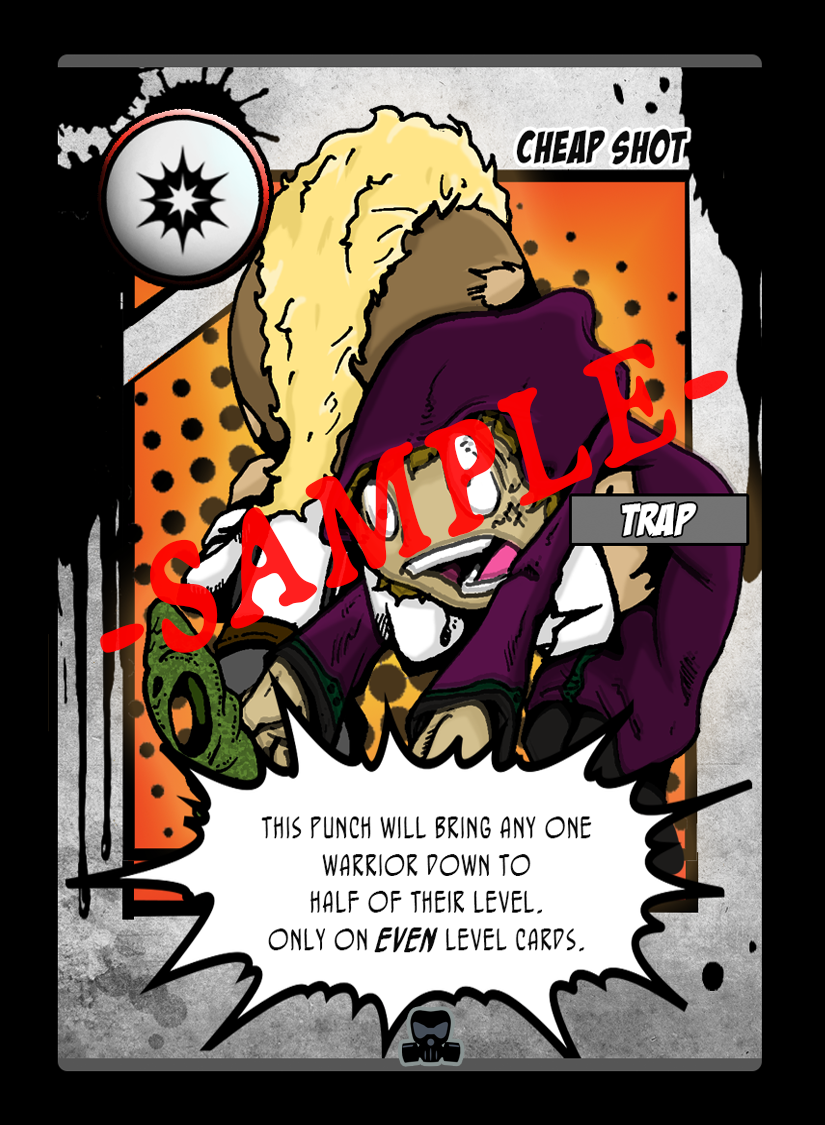
When Cheap Shot is activated you can knock off half of any warriors level. Sadly this card only works against even level cards.
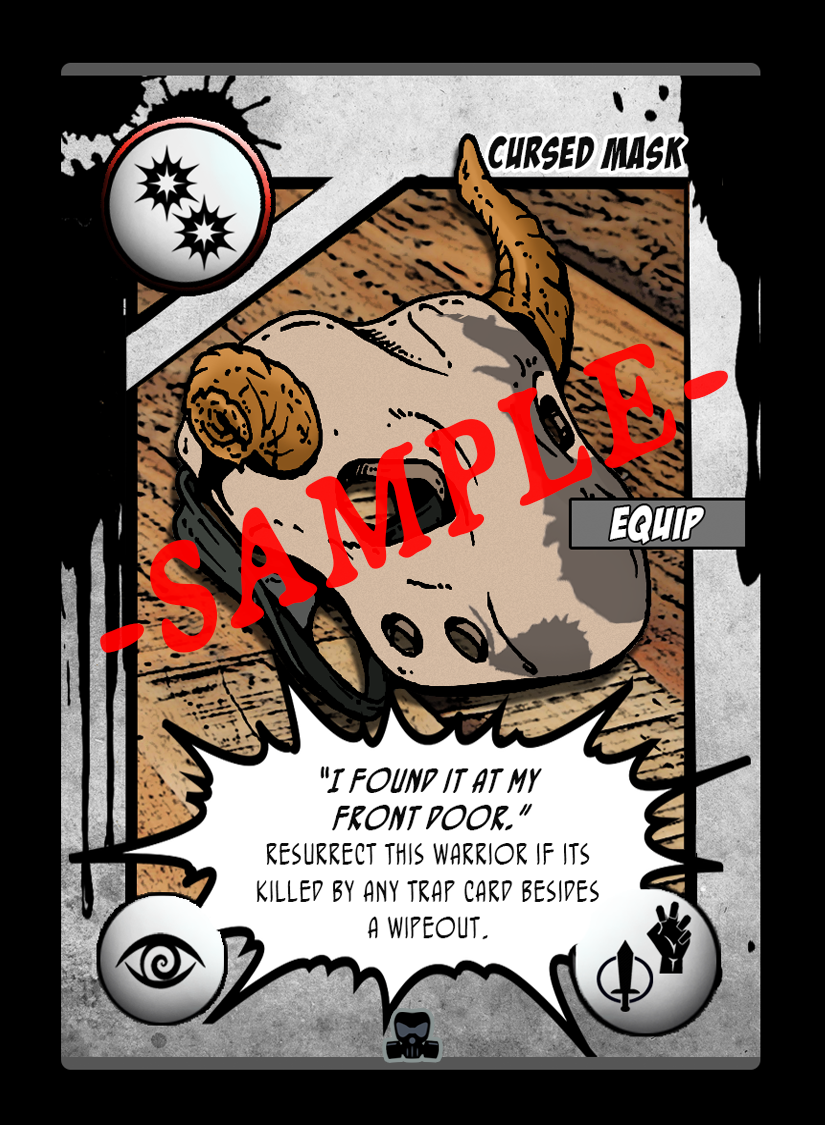
When Cursed mask is equipped to a warrior, it protects that warrior from dying by trap cards. If by any chance this warrior is killed by a trap card, that warrior is resurrected back to the battlefield without this equip card. This card is now discarded. Sadly this card does not protect you from wipe outs.

When Final Rage is equipped to a warrior, that warrior has one shot at attacking one final time. This attack will result in killing any level warrior, one of your opponents doors, and at the end it kills itself as well.

When Hollow Scarlet is summoned onto the battlefield, all players have no control over her. She will automatically attack any warrior that declares an attack. Even if its a warrior on her side. After every attack she does not exhaust.

Hollow Vamp is a mythical creature that known for being nothing but a floating head on a cape. When summoned in exhaust you can exhaust a warrior on your opponents side of the field.

When you equip a Long Wait onto a warrior they gain a +1 on the start of your next turn. From that point on they will continue to gain a +1 at every one of your turns.
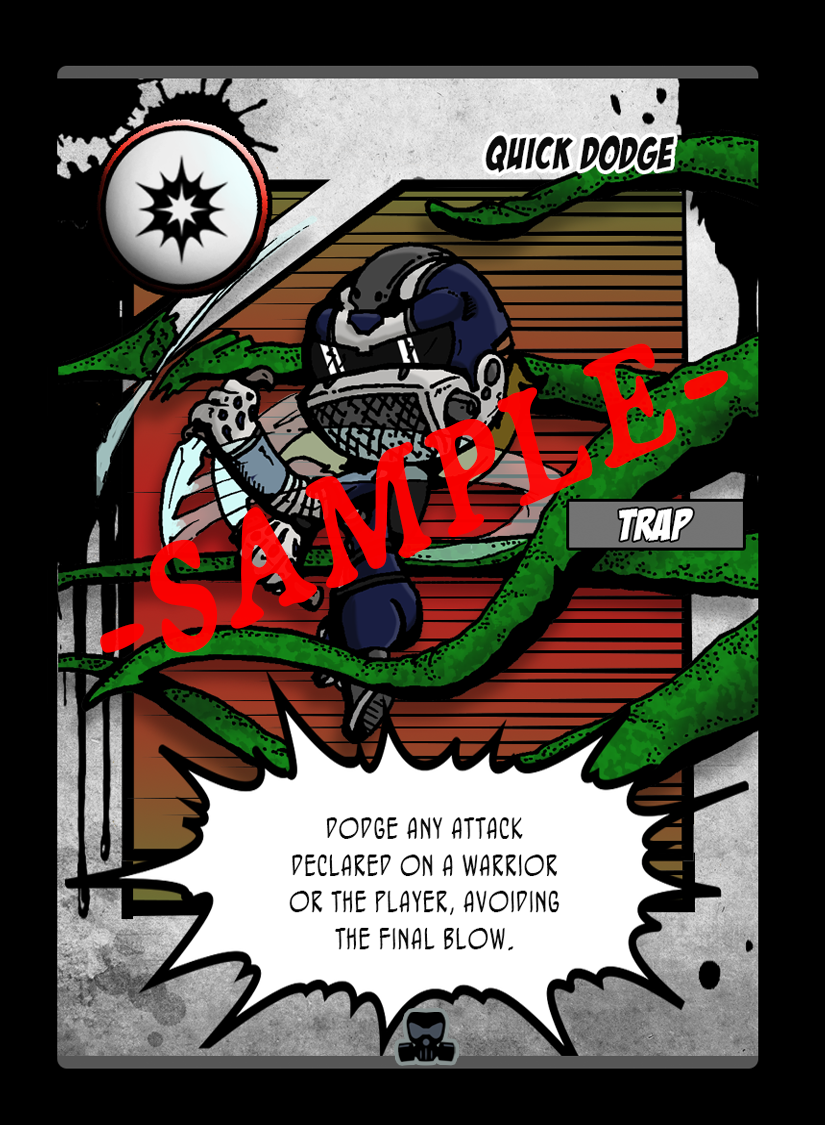
When quick dodge is activated that will prevent your warrior from getting hit by an attacker. No one is killed at this point. This card can also benefit you from avoiding the final blow. Having you as the player avoid from being hit at that moment.

When resurrection is activated both players are forced to bring back the last warriors that were killed on both sides and placed back onto the battlefield.

When you equip Scarlet’s Meal onto one of your opponents warriors (on your turn), that warrior has one more turn to attack. At the end of your opponents turn that warrior is killed off.

Rosemary Whind is one with nature. She can some how control wind as well other things (no one seems to know how). When summoned in exhaust she spot out any warrior in stealth mode and force them to reveal themselves.

When the mission Don’t Drop The Match is activated your opponent has two shots of trying to survive. Your opponent must take out two doors that are hiding warriors behind them. If they so happen to be anything else beside a warrior then the warrior that attacked your door is killed off. Afterwards this mission card is discarded.

When Try To Keep Up is activated, your mission is to take out two of your opponents doors. As a reward in doing so you get to draw 3 cards.

When Whole New Level is activated, your mission is to take out two of your opponents doors. As a reward, you get to use 2 burn effects in a different manor. Instead of burning a card from your deck, you get to burn a card from your hand.

When you activate Throw Off! You get to take off any equip card that is place on any warrior on the battlefield.

When Trust Issues is activated, You and your opponent get to randomly swap cards from each others hands.

Which ever warrior you choose to attach this card to will lose that cards ability.

When Strength of the Wind is activated both you and your opponent will switch the last warriors summoned on each side of the field. Those warriors are now playing for the other family until they die.

Every time Pro Links player attacks, you as the player who declared the attack must roll a die to gain an additional boost on this attack. If you do not like the outcome of your roll, you can burn a card for one extra to re-roll.

Even though Rolli is a level seven, all of his attacks are determined by the last warrior sent to your grave. But if any other warrior attacks him he’s a level seven.

If anyone summons any of Shinra’s sisters while she is on the field. Those sisters are Nira the shadow Empress or Biblica the shadow Princess. Shinra kills all warriors on both sides of the battlefield that are in stealth mode.

Biblica is a princess that was tortured with a broken pride. Being as powerful as other sisters, she was mentally destroyed to thinking differ. She might seem as the weakest, but she still has it in her to win any equal battle.
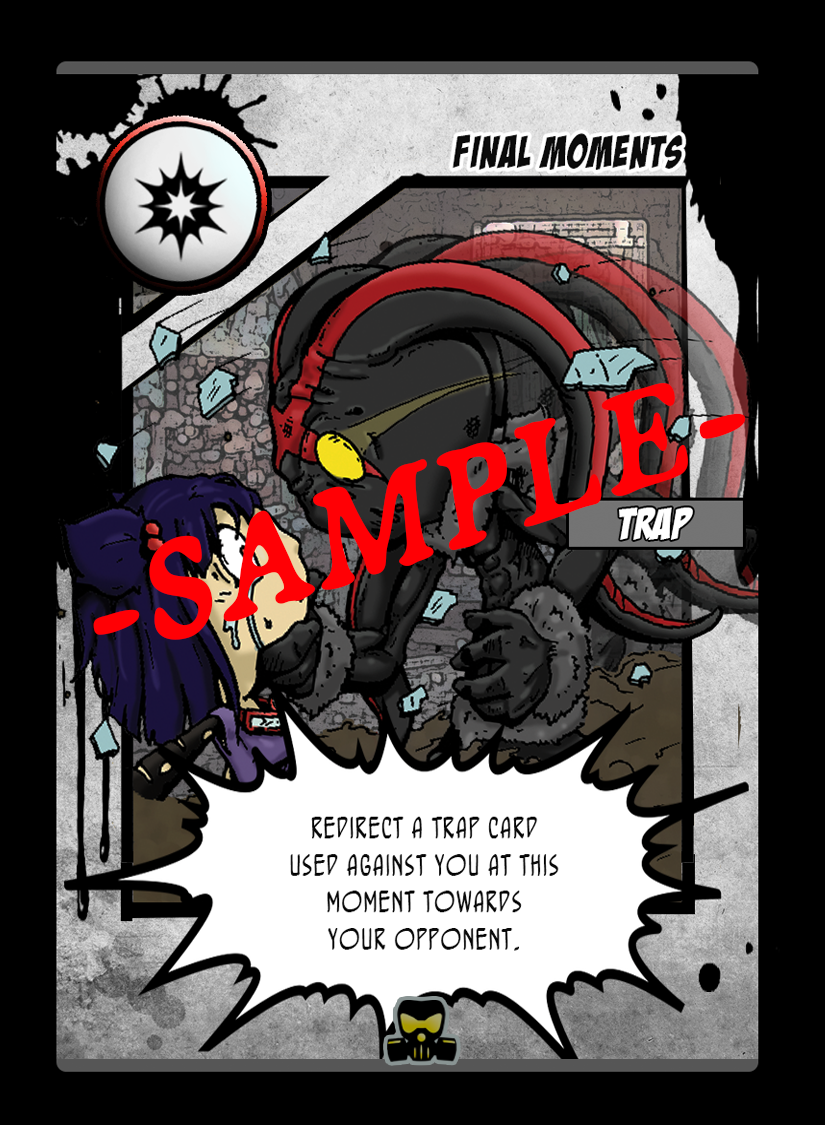
If your opponent uses a trap card that attacks any of your warriors, you can activate Final Moments to redirect that trap back at them (I do not recommend using this card on a whip out…it would be a waste of a great card).
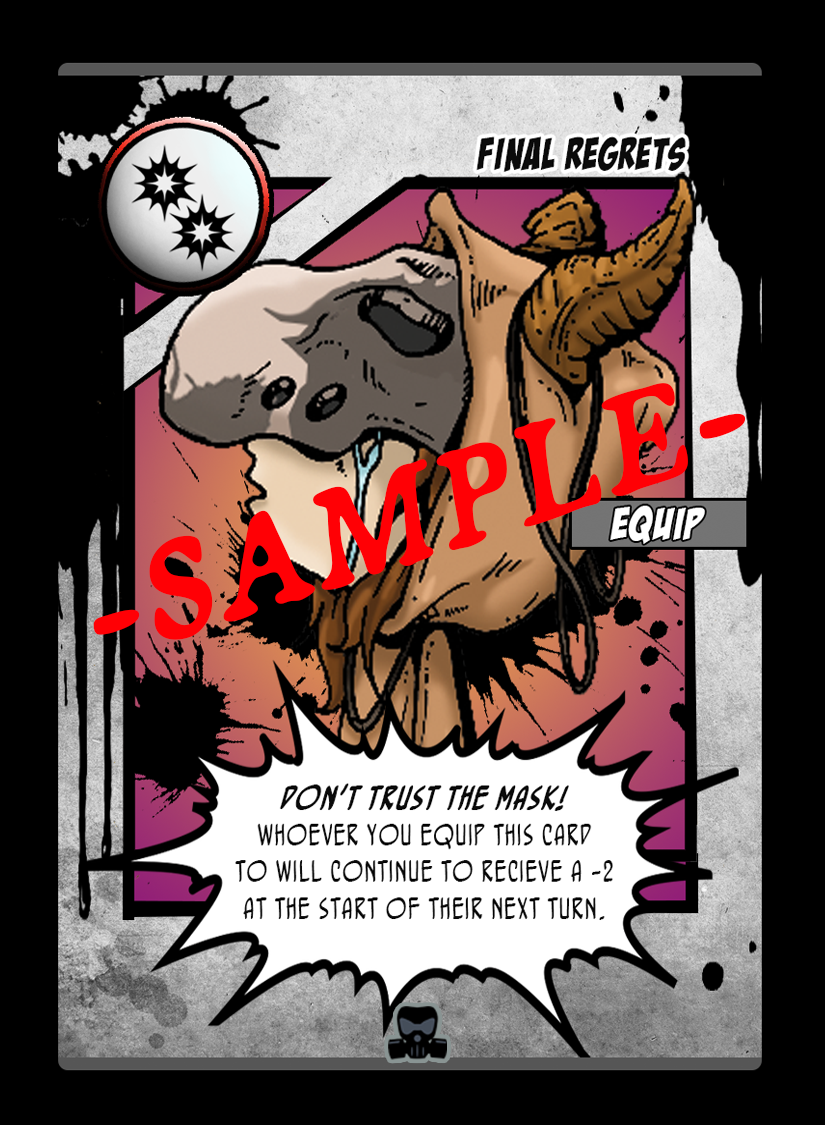
On your turn you can equip “Final Regrets” to your opponents warrior. On their next turn that warrior automatically gets a -2. As long as this card is still equipped that warrior will continuously receive -2 at the start of their turn.
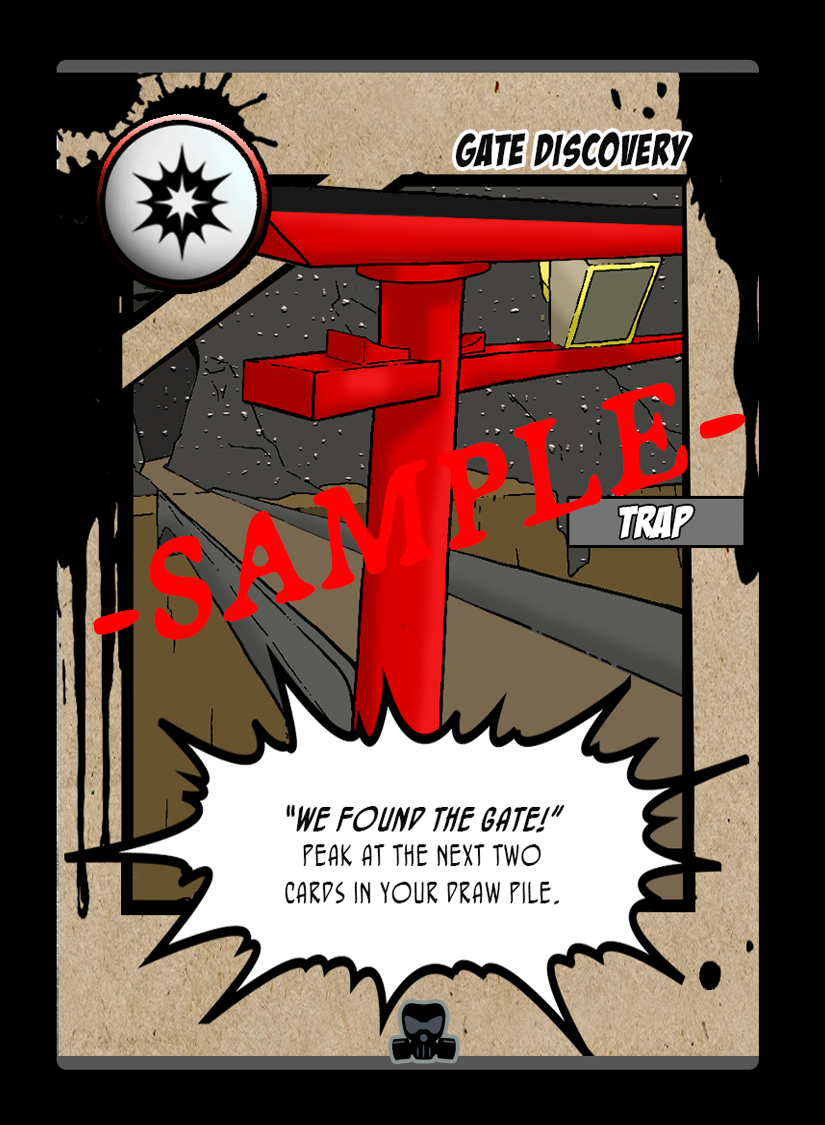
The moment you play “Gate Discovery” you get to peek at the next two cards in your draw pile.
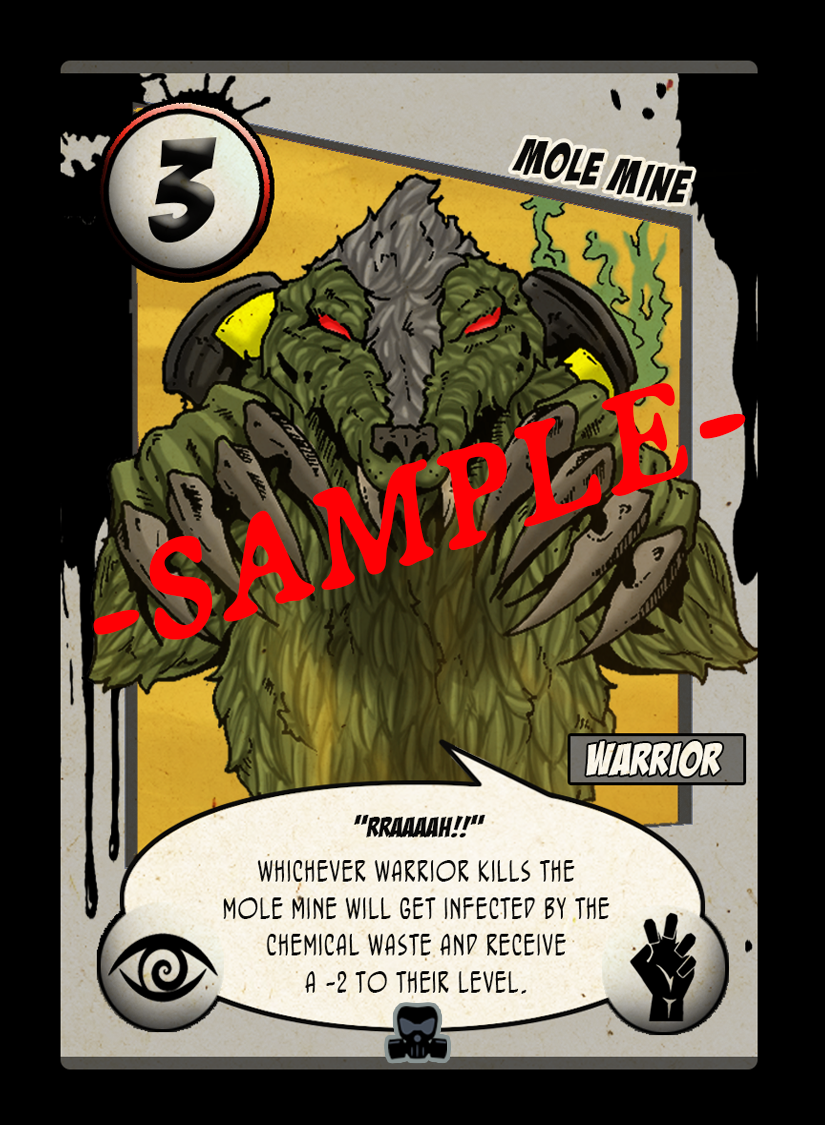
If the Mole Mine is ever killed by a warrior, that warrior gets inflicted by taking -2 to their current level.

When you activate “Twisted Sisters” you can select a warrior on your side of the field and share that level with their partners for the turn. It deactivates at the end of the turn.
Whenever you activate “Important Delivery”, you and your opponent MUST swap the top cards of both of your draw piles.

Cancel and destroy any of your opponents Mission cards that is currently active on the battlefield.
When “To Die For” is activated, you can sacrifice any warrior on your side of the field that’s a 7 or higher to rebuild a fallen door.